





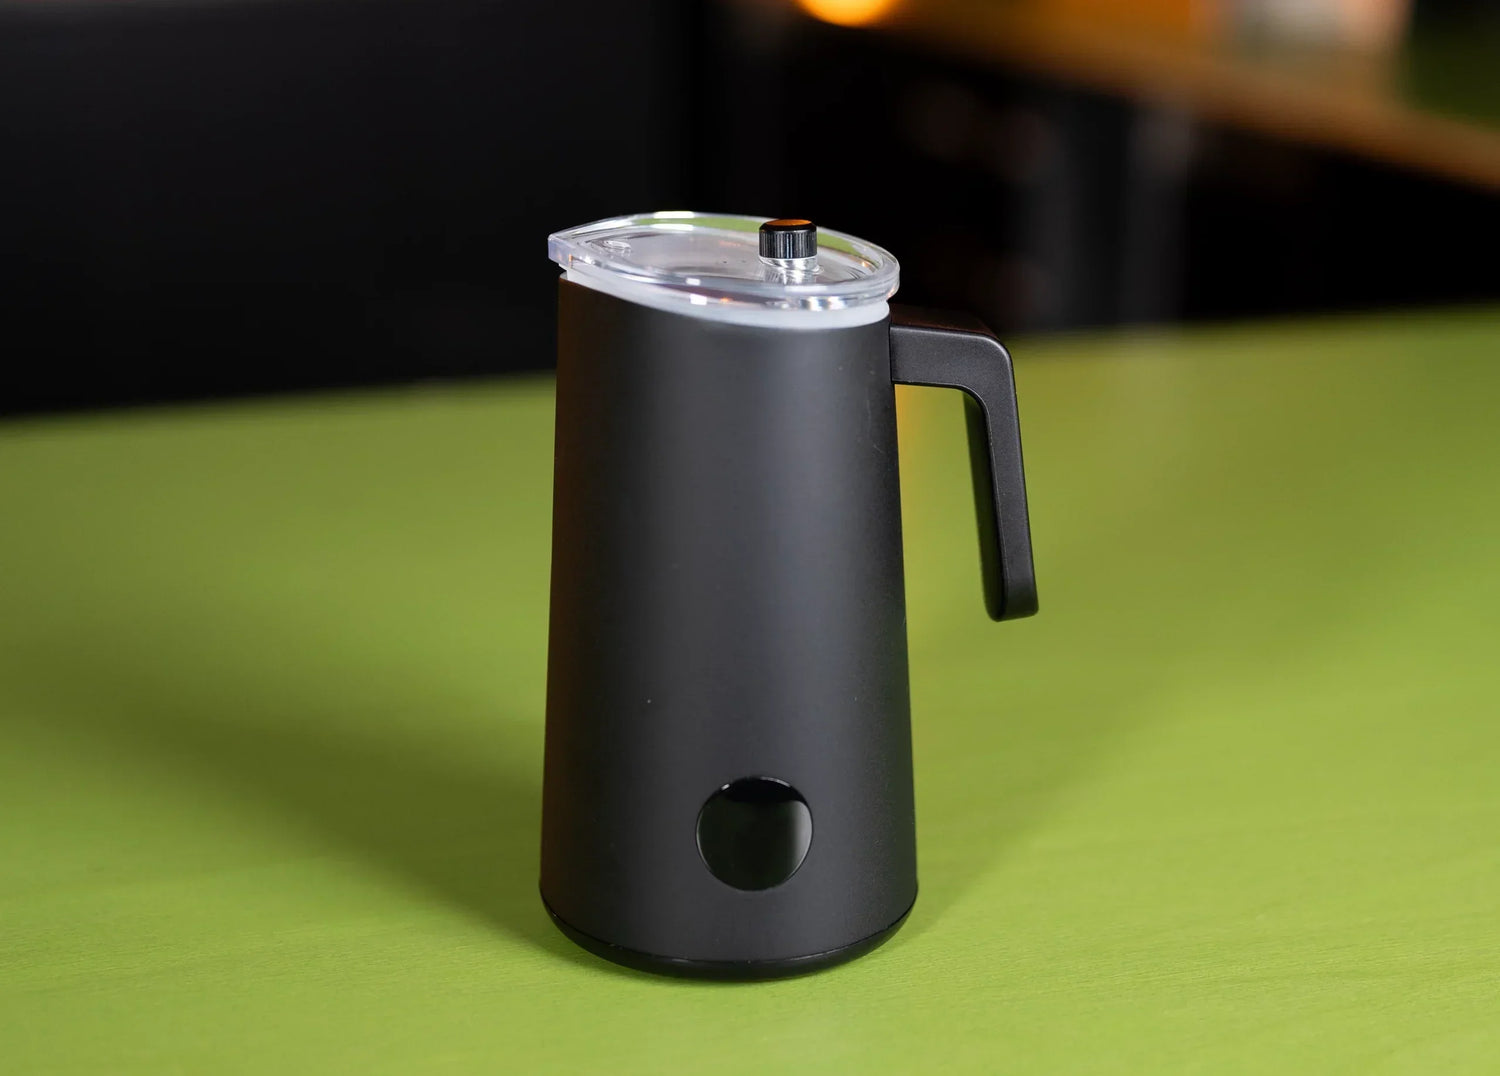

Latte Art foam instead of bath foam – that's the goal of the NanoFoamer Pro 2. Because it makes creamy cappuccino possible for everyone without a steam wand on their espresso machine, and also decorates your moka with hearts and tulips. We put the NanoFoamer Pro 2 from Subminimal through a professional test and share our experiences in this video review. And to give you a heads up: our barista trainer Michel Indelicato was thrilled with this little milk pitcher with heater.
Highlights at a glance
✔️ 3 different settings for foam thickness and temperature
✔️ Ideal for alternative milk types (soy, oat, etc.)
✔️ Easy to use, slightly more complex cleaning
✔️ Compact design for home or on the go
Affiliate link
Want to buy the NanoFoamer PRO GEN-2?
You can get it directly from Subminimal. The following link is an affiliate link – we receive a commission, but it costs you nothing extra.
How does the NanoFoamer Pro 2 work?
The NanoFoamer Pro 2 differs fundamentally from conventional milk frothers because it delivers fine-pored latte art foam instead of airy "builder's foam." Builder's foam is what professional baristas often dismissively call what gets produced when too much air is drawn into the milk. That's something many auto-steamers in some fully automatic coffee machines still do today.
This allows you to pile up bathtub foam-like mountains, but you can't pour creamy latte art. The idea of the NanoFoamer is: both should be possible here. Besides the frothing process, the milk is also heated in the foamer.
As a standalone device, it offers precise control over foam consistency and temperature – two crucial factors for perfect latte art. With three different setting options, coffee enthusiasts, home baristas, and beginners can create the ideal foam texture for their favorite coffee specialties.

- Rubber wings in black (slow, cow's milk), green (fast, milk alternatives), and blue (medium, milk alternatives), which are attached magnetically to the pitcher.
- Foaming mode acceleration 1 - 5 + 0 for cold milk
- Depth of the foamer
So much for the theory. And in fact. In practice too, we give a tick to these tasks. Thin and thick foam succeed depending on the goal, milk, and setting.
Foaming recipes for different milk types and quantities
The NanoFoamer Pro 2 offers different inserts (Slow, Medium, Fast) and levels (1-5) for foam production. Additionally, you should pay attention to the fact that the foamer beeps at around 59 degrees for all recipes. We use this to stop it shortly after. For most milk varieties and cappuccinos, temperatures between 58 and 63 degrees Celsius taste very good.
General tips & tricks
Temperature development:
- With cow's milk: Temperature rise of approx. 0.3-0.4°C per second after the beep
- With larger quantities: Slower rise (0.2-0.3°C per second) after the beep
Cold variant:
- Works well with 130g and slow insert
- Foaming time: approx. 1:25 minutes
- Produces good latte art foam
Troubleshooting:
- Too liquid foam: Increase level or change insert
- Too thick foam: Reduce level
- With oat milk: Prefer fast insert
Best results for cow's milk: Bio-pasteurized
For small drinks (130g milk), optimal setting for latte art:
- Quantity: 130g milk
- Insert: Slow
- Level: 2
- Expected foaming time: approx. 2 minutes
- Target temperature: 61°C (wait approx. 3 seconds after the beep)
- Result: Perfect consistency for latte art
For medium drinks (180g milk)
Optimal setting:
- Quantity: 180g milk
- Insert: Slow
- Level: 3
- Expected time: approx. 2:10 minutes
- Target temperature: 60°C (approx. 2 seconds after the beep)
- Result: Ideal texture for latte art
For large drinks (220-250g milk)
Optimal setting:
- Quantity: 220-250g milk
- Insert: Slow
- Level: 4
- Expected time: 2:50-3:00 minutes
- Target temperature: 59-59.5°C (stop at beep)
- Result: Perfect latte art foam

Special instructions for oat milk
Small portions (130g)
Best setting:
- Quantity: 130g oat milk
- Insert: Fast
- Level: 3
- Expected time: 1:25 minutes
- Temperature: 59.5°C (stop at beep)
- Specialty: Produces the best foam with fast insert!
Medium portions (180g)
Optimal setting:
- Quantity: 180g oat milk
- Insert: Fast
- Level: 4
- Expected time: 1:55 minutes (stop at beep)
- Result: Optimal foam quality
Large portions (220g)
Best setting:
- Quantity: 220g oat milk
- Insert: Fast
- Level: 5
- Expected time: 2:20 minutes
- Temperature: 60°C (stop at beep)
- Result: Even, stable foam
Summary of key findings:
- Cow's milk works best with slow insert (black)
- Oat milk achieves best results with fast insert
- Larger milk quantities require higher levels
- Optimal temperature is between 59-61°C
- Foaming time varies between 1:25 and 3:00 minutes depending on quantity
Does it also froth oat milk and alternative milk?
The device's performance when processing alternative milk is particularly impressive. Many home baristas struggle with frothing oat milk and others. With a bit of experimenting, the right recipe for each oat milk consistency can be found. Important note: every milk is slightly different, so a recipe must be developed for each one. Also, the requirement for foam density varies. For Swiss Bio-Oat Milk Gutsch, we used the following settings:
Gutsch Milk Foam Recipe
- Gutsch oat milk 130g
- Room temperature
- Fast insert
- Level 3
- 1:25 foaming time; stop at the first beep at 59.5°C.
- Absolutely top foam!!!
User-friendliness in focus
The handling of the device appears intuitive and easy to us.
- Temperature setting
- Easy foam consistency regulation
- Quick and effective cleaning, though unfortunately not dishwasher safe
- Perfect for on the go
Thanks to its compact size and independence from an espresso machine, the NanoFoamer Pro 2 is also ideal for mobile use. Whether in the office or while traveling – professional latte art becomes relatively easy everywhere.
Cleaning and care
An important aspect for the longevity of the device is proper care. You should clean the NanoFoamer carefully after each use.
- Not dishwasher safe
- Regular manual cleaning after each use
- Careful maintenance of foam components
Conclusion about the NanoFoamer
The NanoFoamer Pro 2 from Subminimal was really fun to test. It's a practical and simple tool that opens new doors. For anyone without an espresso machine at home, creamy milk foam is now possible. Whether with mobile and manual espresso brewers like the Flair, 9Bar or OutIn, or with espresso machines like the Roxy, which don't have a steam wand.
The latte art result is top-notch and the handling is simple. For anyone wanting to improve their latte art skills or simply looking for perfect milk foam, this device is definitely worth considering.