










Latte Art – the milk art on cappuccino & co. – is not rocket science, but it does require genuine practice. Good milk foam is half the battle: without fine-pored "microfoam" you won't get far. With a little know-how and the right tricks, anyone can eventually create hearts, tulips or leaves in their cup at home. We explain step by step what really matters – from foam preparation through the right equipment to common mistakes and design tips. Don't worry about splashes: with this guide you'll learn effortlessly and with humor what many professional baristas practice for years.
Milk foam like a pro: stretching phase, rolling phase and temperature
The most beautiful latte art foam is created in two phases. Importantly, before steaming you should pull your espresso. It's fine if it sits for a bit. Freshly steamed milk, however, should be used immediately.
- Stretching phase: Position your steam wand just below the milk surface and let air be drawn in. You should hear a quiet "scratching" sound. Is the nozzle hissing loudly and hungrily? Then it's sucking in too much air – dip the wand slightly deeper into the milk. No hissing sound? The wand might be too deep and is only warming the milk.
- Rolling phase: At about hand-warm (30–40 °C), the "stretching" becomes a gentle rolling: lower the wand slowly so that the milk in the pitcher creates a vortex and larger foam breaks down into fine microfoam. The "rolling phase" is audibly quiet, and the milk surface begins to shine silkily.
Always check the temperature with your hand on the pitcher: at around 55 – 65 °C you reach the "sweet spot" – the milk tastes sweet and doesn't burn. As soon as the pitcher becomes too hot to hold, turn off the steam. Before you start pouring, tap the milk pitcher on the table: large bubbles pop, and then the foam can be mixed even better with a gentle swirl until it's homogeneous and crystal clear. Wipe off any residue on the steam wand immediately, otherwise it will stick and that's not only unsightly but also a hygiene issue.
One more tip: keep the milk pitcher moving with a gentle swirl so the milk foam doesn't separate again.
Milk: whole milk or plant-based barista edition?
Your base liquid: cow's milk with lots of protein. You need proteins for good foam, not just fat. We recommend organic whole milk (3.5% fat) – tastes delicious and produces dense foam. Very important: the milk should be cold. The colder it is (below 7 °C), the more time you have to steam it finely without it getting hot too quickly. You can extend both phases longer. This is especially helpful when you're starting your latte art journey.
Plant-based works too: reach for barista editions of soy, oat or almond milk (we tested the best in a comprehensive comparison test). They're specially made for cappuccino and similar drinks and steam just as well as cow's milk. Regular plant-based milk (without barista label) often results in unstable, coarse-grained and watery foam.
A little secret tip for practice: mix a drop of dish soap into water instead of real milk! It froths almost like milk. Or even better: use Barista Carl's Blend (BCB), a substance developed by baristas for baristas specifically for practicing latte art. We also use BCB in our latte art courses to produce less waste with good milk.
Equipment: milk pitcher & cup
The right tools help enormously.
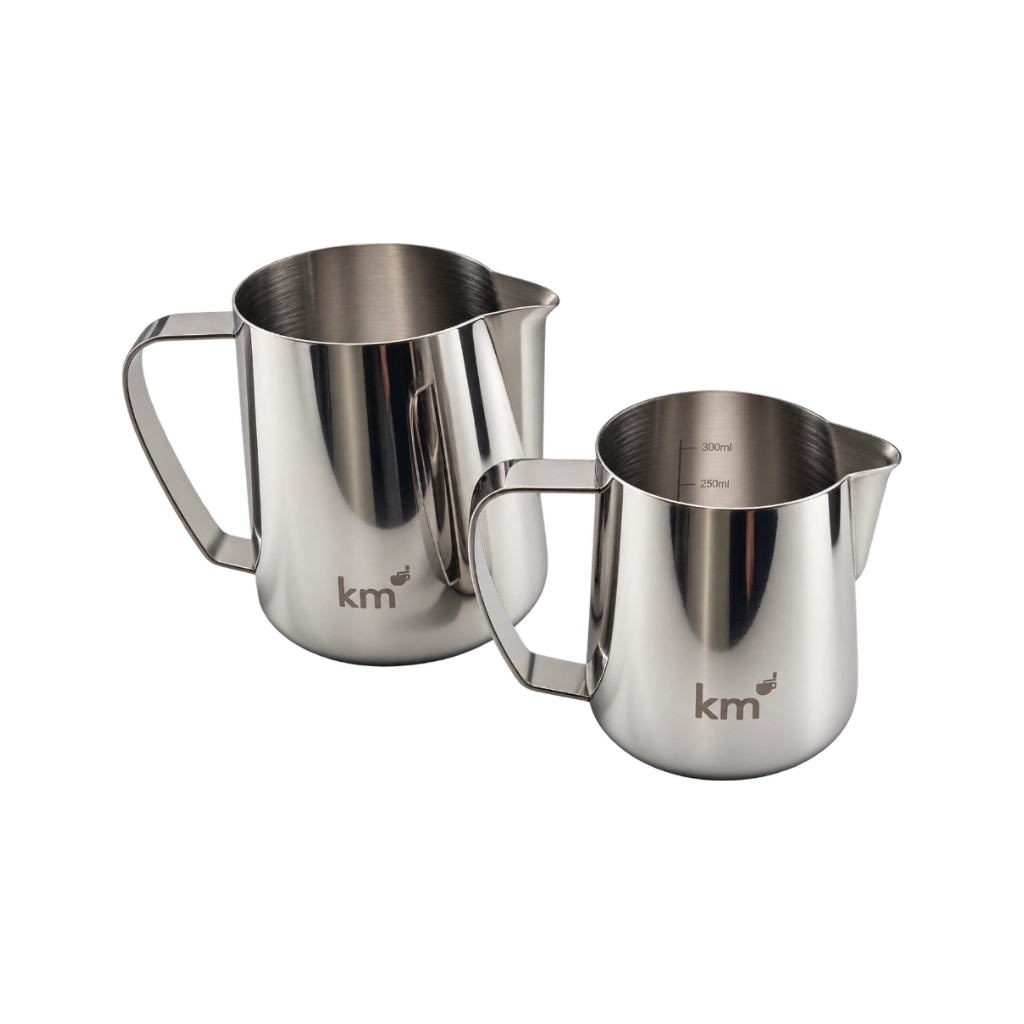
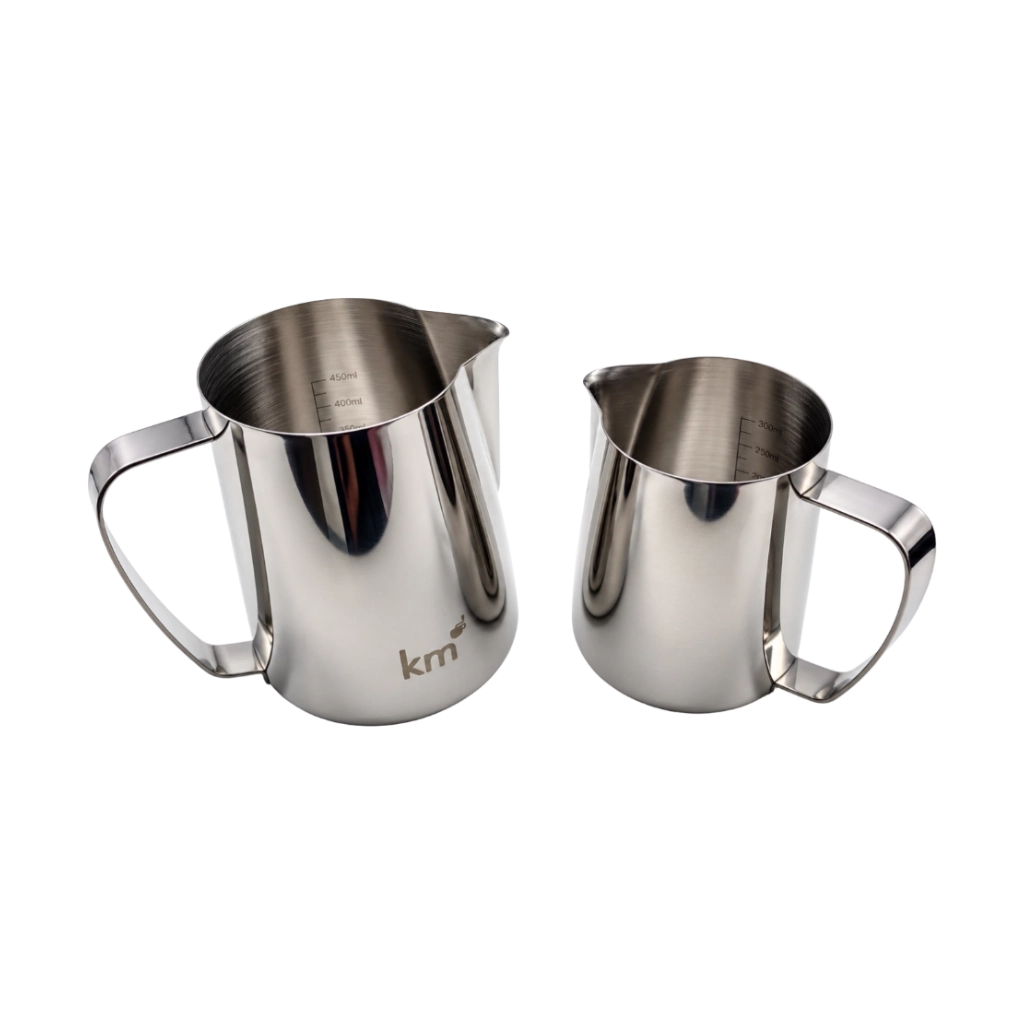
- Milk pitcher: Essential is a stainless steel pitcher with a well-formed pouring spout. Stainless steel cleans easily, and you can feel from the outside when the pitcher gets too hot. A rounded bottom and pointed spout are ideal. We recommend ideally two pitchers: one 350 ml and one 600 ml. The smaller pitcher works for one serving, the larger for two. In practice, they're also used to split the foam between the two pitchers!
Tip: Pitchers with a pointed spout are better for fine and precise lines. Pitchers with a wide spout create thicker lines and allow more milk foam to show through on the crema when pouring.
When buying a new milk pitcher, it's especially important that the spout runs parallel to the handle so the latte art is symmetrical and even.

These are our custom-designed KM latte art pitchers. Felix Hohlmann, the German barista champion 2024, designed the small pitcher according to his wishes: Michel Indelicato, the espresso machine test expert, designed the large pitcher. What ideas are behind the pitchers, you can read at the very bottom of this article. To the KM milk pitchers in our shop.
- For a cappuccino fill the small 350 ml pitcher about a third of the way up to the beginning of the spout. That's about 120 to 140 ml, which also depends on how large the later cappuccino cup is.
- For two cappuccini we use the 600 ml pitcher and fill it also up to the beginning of the spout (approximately 240 - 260 ml). Tip: We recommend you start by always using the larger pitcher. That gives you more time to steam, everything proceeds a bit less rapidly and in the large pitcher there's enough room for the milk to circulate beautifully and silkily in the rolling phase.
- Cup: A thick-walled model with a round bottom and wide rim is optimal. No sharp edges! The rounder the cup's bottom, the better the foam can rise from the bottom up. A cappuccino cup (≥ 150 - 200 ml) is perfect. It offers plenty of surface to "paint" on. Before pouring the milk foam, you should distribute the "crema canvas" evenly by swirling the cappuccino cup.

Pouring technique: stream, pace and common mistakes
Concentration with every milliliter: height, distance and speed determine success or mess:
Pouring latte art in a heart pattern:
- Hold the cup slightly tilted, so the pitcher can get closer to the crema.
- Pour from higher up with a thin stream (about 5 cm from the cup). This allows the milk foam to glide under the crema and fill the cup without the brown surface turning white too early.
- If the surface does turn white, you can "pull" these white spots back under the crema with the stream of falling milk.
- To draw, now go very close with the milk pitcher to the crema. The milk foam no longer glides through the crema, but rather lays on it and blends with it. For this to work, hold the pitcher more steeply so the milk foam flows out of the pitcher.
Tips and technique:
- Control the stream: Hold the pitcher steady and let only a fine, consistent milk stream flow. Pouring quickly doesn't help – the milk should settle homogeneously into the crema.
- Movement and posture: Less is more! Don't swing the pitcher wildly back and forth, but perform calm wave motions – especially for leaves or tulips. Unnecessary haste and body tension are deadly for the pattern. Stay relaxed: shoulders loose, back straight. Many trainers advise: "Always do the same thing, not many movements." (Sustained concentration instead of hectic jumps.)
- Seize the moment: Latte art only works with freshly steamed milk. Already after ~30 seconds the foam separates into hot milk and air – your "latte art dreams" dissolve into thin air. So act as soon as the foam shines and pour quickly. Freshly steamed means: short distances from the pitcher to the cup.

Common mistakes:
- Too much milk in the pitcher? Then it quickly sloshes over when you tilt (overflowing spots). Better to pour in stages and re-balance the cup.
- Too harsh stream movements? This delays or destroys the pattern build-up. A soft, endlessly even stream is the way.
- Wrong timing? Start with the spout just below the surface and pull it up only when a paintable milk spot (white outlined by crema) has formed.
Practice makes perfect: tips for practice
Hardly anyone creates perfect patterns on the first try. Initial squiggles and "monster hearts" are completely normal. Some professional baristas even practice without espresso: with water + soapy water or BCB solution, as mentioned. This saves milk and allows endless loops: a drop of dish soap in water froths similarly to milk. Specialized practice liquids like Barista Carl's Blend (BCB) resemble milk very closely and make practice latte relatively inexpensive.
What matters is patience and repetition: practice the same movement every time (see "heart" below) until you've got it. Don't be too hard on yourself – even world champion baristas created abstract crumbs on their cappuccinos at the start.
The first patterns: heart, tulip and rosetta
Let's start with the classics. If you have a good base of espresso, crema and microfoam, three designs are relatively easy to execute:
- Heart: The classic heart is the beginner pattern. Hold the cup tilted, handle toward your body. Pour from about 4–5 cm height first, centered into the middle of the espresso. When the cup is about half full, you approach the crema. As soon as a white milk drop builds up in the middle, you lift the pitcher slightly and continue pouring – this creates the characteristic heart point by "cutting" through the white spot with the stream. In short: even stream into the espresso center, approach the cup/crema, white spot forms, then lift the pitcher and pull the stream through.
- Tulip: The tulip combines several small hearts stacked on top of each other. First pour the beginning of a heart (dot) into the lower third of the cup. Stop the stream, position the pitcher again and push a second dot into the first. Now comes the third attempt and fourth, etc. Finally, you again pull a line through while lifting the pitcher. This creates the characteristic center stem.
- Leaf/Rosetta: The leaf is the next step. You start like the heart (stream centered). Once the first white dot is there, lower the pitcher slightly and guide it with small wave motions from one side to the other through the foam. This creates long, curved arcs. When the cup is almost full, lift the pitcher and pull the stream straight through the middle. This way the pattern elegantly flows from the cup's edge to the center. Important: the wave motion stays even, the final stroke clean.
These three basic patterns – heart, rosetta, tulip – are enough to impress friends and family. Once you've got the basics down, you can later add more decorations with latte art pens, cocoa or chocolate. But first practice until the heart looks like a heart!

Summary: latte art with technique and humor
Latte art is not a secret, but a craft and technique with milk: the right milk temperature (about 55 – 65 °C), clean steam wand, calm pouring style and a good dose of practice is the recipe. Pay attention to these key points:
- Fill amount & phases: One third milk in the pitcher, stretching phase (draw in air) + rolling phase (milk vortex), until about 60 °C.
- Pace: Not dripping, not pouring – a thick stream, evenly into the lower third.
- Pitcher position: Position the pitcher with the spout at the cup's rim, don't insert too deep.
- Cup choice: Round, rounded cappuccino cup (150 - 200 ml) with smooth transition from bottom to rim. Many also recommend larger cups. We advise against this because the balance between espresso and milk won't be right with just one espresso shot.
- Practice: Steam diligently first (with soap or BCB) until your handwriting and timing are solid. And remember: practice makes perfect.
With this knowledge you're well prepared. So no hesitation: heat up the machine, grab the best espresso and start steaming. The first latte art might look like abstract art – but that's part of it. Every pouring attempt brings you closer to the perfect heart.