









The espresso pot, also known as a moka pot, moka express, or Bialetti, is one of the best-selling coffee makers in the world. No pump, no electricity, no frills. Just water, steam pressure, and a simple metal design that has worked for nearly 90 years. Together with German master barista Felix Hohlmann, we have tested numerous pots and experimented with different recipes and three different roasts. In this article, we summarize the best grind settings as well as tips and tricks for the espresso pot and guide you through the preparation step-by-step.
How does an espresso pot work?
The principle is impressively simple: the espresso pot consists of three chambers. You fill the lower part with water, just below the safety valve. Above that sits the filter basket with the ground coffee. The finished beverage collects in the top part.
When you place the pot on the stove and the water heats up, pressure builds. The hot water is forced up through the coffee grounds, extracting the coffee in the process, and ends up in the upper vessel. As soon as a characteristic bubbling and hissing sound begins, the coffee is ready. Depending on the size of the pot, grind setting, and stove setting, this takes between 2:30 and 4:00 minutes.
Luigi De Ponti designed the espresso pot in 1933 for Alfonso Bialetti, who marketed it under the name Moka Express. The octagonal aluminum pot remains the best-selling model worldwide today. The pot also owes its common nickname to him: Bialetti is the company name of the brand that made the Moka Express famous around the world. The basic principle hasn't changed since then. And that's a good thing.
What comes out of an espresso pot is not technically an espresso, as it lacks the pressure and the concentration of coffee particles characteristic of espresso. An espresso machine operates at 9 bars, while the espresso pot builds up about 1 to 1.5 bars during the main phase. For the classic Moka Express, Bialetti specifies a nominal operating pressure of 1.5 bars. Even so, the result is strong, aromatic, and has a robust intensity that clearly distinguishes it from weaker filter coffee. The mouthfeel reminds the Swiss of a café crème. Its strength is actually not far off from a capsule "espresso".
Espresso pot test: What we tested
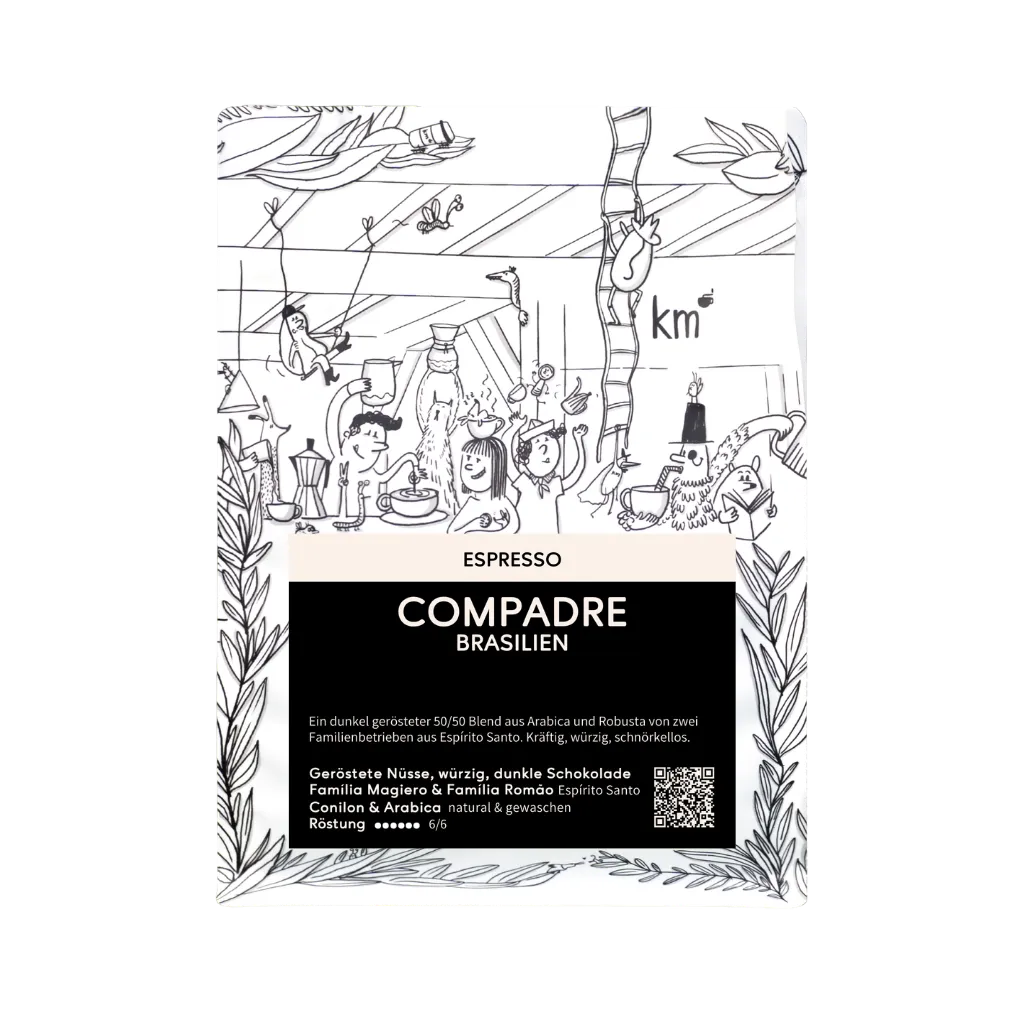
We worked with two moka pots: a classic 120 ml aluminum moka pot and a 300 ml stainless steel pot, our E&B LAB Induction Moka Pot. We heated both on a regular stovetop as well as brewed on an infrared plate—at full power. We worked with four coffees: the filter coffee Amigo, the espresso blends Compadre and Dreispitz, and the fruity espresso Doña Margarita. All four come from our range and impressed in their own way with the espresso pot.
In other words, you can prepare completely different coffees very well with an espresso pot, depending on which flavor you prefer. Dark espresso notes, classic filter coffee structure, or complex fruity notes, just the way our master barista likes it.
Besides the recipe, brew ratio, and brew time, we measured the TDS value (Total Dissolved Solids — a measure of extraction strength).
The best recipes from our tests:
Dreispitz, grind size 0, with paper filter, 120 ml water to 12 g coffee — brew time 3:00, TDS 2.91%. Balanced and very soft texture. Typical Dreispitz notes in balance.
Doña Margarita, grind size 2, with paper filter, 120 ml water to 12 g coffee — brew time 2:30, TDS 3.21%. The coffee was sweet, fruity, round. Exactly what we wanted.
Compadre, grind size 2, with paper filter, 120 ml water to 12 g coffee — brew time: 2:55, TDS 3.48%. Round, strong, soft body. Café Crème with Compadre flavor. Very delicious!
Amigo, grind size 2, with paper filter, 120 ml water to 12 g coffee — brew time: 3:33, TDS 3.10%
For context: scientific studies describe a typical TDS range of 3 to 4% for an espresso pot. This corresponds to our recipes and simultaneously clarifies: a coffee from a moka pot is not a classic espresso, because that usually reaches 6–10% TDS.
We used an EK43 as our grinder. The grind setting for this grinder cannot be transferred to other grinders. A texture between sand and fine sugar is a good guideline.

The most important takeaways from all tests summarized:
- Ratio 1:10, meaning about 12 g of coffee to 120 ml of water. This is our starting point.
- Preheated water saves time and makes better coffee. Fill the lower chamber with hot water from a kettle. It makes a noticeable difference. The coffee grounds are exposed to hot steam for less time.
- Full heat is fine. It’s primarily about the brew time, not gentle heating.
- Brew time: 2:30–4:00 minutes. The 120 ml pot is somewhat faster and tastes better with shorter brew times (2:30–3:30), the 300 ml pot brews the best coffee between 3:00–4:00 minutes. As soon as the coffee starts bubbling, remove from the stove immediately.
- Adjust grind size based on taste and time. Too bitter? Grind coarser. Too flat? Grind finer. This also coincides with slower and faster brew times. If the brewing takes longer than 4 minutes, the coffee will taste bitter, so grind coarser. The grind size makes the biggest difference here.
The test series was led by sensory expert Nadja Schwarz.
Place an Aeropress paper filter on top of the coffee in the filter basket before screwing on the upper chamber. The filter keeps fine coffee particles back and makes the beverage significantly silkier in the mouth. The extraction remains the same, the body becomes clearer. We especially recommend this for lighter roasted coffees.
Step-by-step: How to prepare coffee in an espresso pot
It’s faster than you think, once you know the sequence.
1. Prepare the water. Fill the lower chamber with hot water from a kettle, just below the safety valve. For a 120 ml pot, this is about 120 ml; for the 300 ml version, it is correspondingly more. (Caution: from now on the pot is hot! Use oven mitts or a kitchen towel.)
2. Grind the coffee. Grind size: significantly finer than for filter, slightly coarser than for espresso. Texture between sand and sugar. As a guideline: 12 g of coffee for the 120 ml pot.
3. Fill and insert the filter basket. Fill the filter basket loosely with coffee grounds and press lightly, but do not tamp like you would for an espresso portafilter. That would increase the pressure in the pot too much and lengthen the brew time. The result: very bitter coffee.
4. Optional: Add a paper filter. Place an Aeropress paper filter on the filter basket. Then screw on the upper chamber tightly.
5. Place on the stove. Full heat. Flip open the pot lid when the coffee starts to bubble. If you aren't familiar with your pot and are experimenting for the first time, it's better to close the lid. If the heat is too high, coffee will splatter out of the pot!
6. Observe, don't walk away. As soon as the coffee begins to bubble and hiss, remove from the stove immediately. What happens next is physically clear: the water in the lower chamber is almost used up, steam enters the riser pipe directly and forces the last hot remnants upward, with temperatures over 100 °C. In this phase, which is actually called the "Strombolian phase"(1) in technical literature, the coffee increasingly releases bitter substances. Those who take it off the stove early drink better.
7. Wait briefly, stir, then pour. Stirring is important so that the different extraction layers are well mixed and everyone is served a balanced cup.

Espresso pot for induction: What you need to know
Classic aluminum moka pots do not work on induction stoves. Aluminum is not ferromagnetic and is not heated by the induction field. You need a pot made of stainless steel or a special induction pot with a ferromagnetic base.
There are now many options on the market: Bialetti has an induction version in its range, and there are stainless steel models from various manufacturers. What you should look for: an even, flat base for good contact with the induction plate, as well as solid craftsmanship on the handle and the gasket.
The Bialetti espresso pot: Which model is right for you?
Bialetti is not just a brand, but the reason why the espresso pot is still considered an icon today. Alfonso Bialetti launched the Moka Express in 1933, creating a device that is in millions of households. There are three models that are most frequently considered:
Moka Express – the original. Aluminum, octagonal, unchanged for 90 years. Available from 1 to 18 cups. For all stove types except induction. Price depends on size, starting from around 25 euros. Whoever says espresso pot usually means this one.
Moka Induction – the stainless steel variant for induction stoves. Same logic as the Moka Express, but with a ferromagnetic base for induction compatibility. Starting from around 35 euros.
Brikka – the only Bialetti model with a second pressure valve. This valve builds up more backpressure before the coffee rises. The result: more crema and a somewhat fuller body. Not suitable for induction, only available in 2 and 4-cup sizes. If you miss the crema layer of an espresso, go for the Brikka.
For whom is a classic Bialetti the right choice? For everyone looking for a simple, affordable, and proven entry point, who cooks on a gas or electric stove, and has no ambitions to tinker much with their setup. If you brew on induction or value build quality and consistency more, you will find a significantly better option with the E&B LAB further down.
Update April 2025: Bialetti under new owners
Whoever buys a Bialetti is now buying a piece of Chinese investment history: Hong Kong entrepreneur Stephen Cheng has acquired almost 79 percent of Bialetti shares for around 53 million euros through his investment fund, Nuo Capital. Bialetti has been in economic difficulties for years, partly due to increasing pressure from capsule systems. Management and production sites in Italy are expected to remain - the new owner plans to expand Bialetti primarily in China and North America. WirtschaftsWoche What this means for the quality of the pots remains to be seen. We have already written about the Chinese coffee expansion here.
Our recommendation: E&B LAB Induction Moka Pot
We have the E&B LAB Induction Moka Pot in our range and have tested it extensively. Really high quality, 79.90 euros, 100% Made in Italy, stainless steel, suitable for induction and all other stove types. What sets it apart from cheap stainless steel models: an IMS Competition Filter in the filter basket. IMS produces the filters that are also installed in professional espresso machines. The result is a more even water distribution in the coffee puck and therefore better extraction.
The craftsmanship is super solid, the handle stays cool, the gasket fits snugly. It isn't a bargain, but it's worth the money.
Which coffee is suitable for an espresso pot?
Any coffee works. That is not a diplomatic answer, but the result of our tests. We tried four very different roasts and all tasted good. What changes is the character. Lighter roasted coffees become fruitier and sweeter, darker ones develop more body and chocolate notes.
Our personal favorites after the tests: Felix Hohlmann swears by Doña Margarita: fruity, sweet, with a liveliness that comes into its own particularly well in the espresso pot. Benjamin Hohlmann prefers drinking the Compadre: stronger, balanced, with a long finish. Nadja Schwarz chose the Amigo: accessible, pleasant, for every day.
Frequently asked questions about the espresso pot
How much coffee goes into an espresso pot?
That depends on the size. As a guideline: fill the filter basket loosely and level, without tamping. For a classic 2-cup pot (120 ml water volume), that is about 10–12 g of coffee. We work with about 12 g for 120 ml of water, which is a ratio of 1:10.
Can I use a moka pot on an induction stove?
Only if the pot is designed for it. Aluminum does not work on induction. You need a pot made of stainless steel or a special induction version with a ferromagnetic base — like our E&B LAB Induction Moka Pot.
Why does my coffee from the espresso pot taste bitter?
Three common causes: the grind is too fine, the coffee stays on the stove too long, or the pot is not rinsed thoroughly. As soon as the characteristic bubbling begins, take it off the stove immediately. And: grind slightly coarser until the taste is right and the brew time falls into the time range we suggested.
Do I need to break in the espresso pot?
For new aluminum pots, many recommend pouring out the first few brews. Aluminum sometimes gives off a metallic taste during the first use. After two or three uses, this subsides. Stainless steel pots usually don't need this and can also be cleaned thoroughly.
How do I clean a moka pot?
Only with water — no dish soap, no dishwasher (unless models explicitly allow it). This applies especially to aluminum pots: dish soap attacks the surface. Simply rinse, wipe out, let dry, done. Regularly check the filter basket and the gasket for residue. In many pots, a patina of coffee residue hides behind the gasket. This has a very negative effect on the taste!
Conclusion
The espresso pot is a device that doesn't need long explanations but benefits enormously from a few ground rules. 1:10 ratio, preheated water, full heat, remove from the stove immediately once the coffee comes out. Anyone who additionally uses an Aeropress paper filter gets a significantly softer and clearer result. The choice of coffee is a matter of taste: every coffee works; light roasts come out particularly fruity.
Anyone looking for an induction pot should not cut corners: The E&B LAB Induction Moka Pot for 79.90 euros is top-crafted, suitable for all stove types, and equipped with an IMS filter that really makes a difference.

(1) Source on pressure and "Strombolian phase": Navarini et al., “Experimental Investigation of Steam Pressure Coffee Extraction in a Stove-top Coffee Maker", Applied Thermal Engineering, Vol. 29 (2010), DOI: 10.1016/j.applthermaleng.2008.05.014