


A clean coffee grinder is the prerequisite for good coffee. Cleaning it is much faster than cleaning an espresso machine. The grinder cleaning process shown here can be applied to all coffee and espresso grinders. Nevertheless, the manufacturer's instructions should always be followed. In rare cases, more budget-friendly espresso grinders may have different guidelines.
In this text, we explain how to clean using cleaning powder. You can purchase good quality cleaning powder from our shop, or from many other roasteries or grinder retailers.
The new cleaning video linked below also shows how you can open the grinder to clean the burrs and the retention area directly and manually with a cloth.
Removing residues and coffee oils
Just like with an espresso machine, it is the coffee oils that settle unpleasantly. They love to hide in all the crevices of the grinder, as well as in the hopper. The darker the coffee is roasted, the more oils are left behind. And oils turn rancid when exposed to oxygen. The main goal of cleaning is to rid the surfaces of the burrs and stubborn crevices of oils and deposits. After cleaning the grinder, the coffee will taste significantly better, clearer, and cleaner again.

Retention and dead space
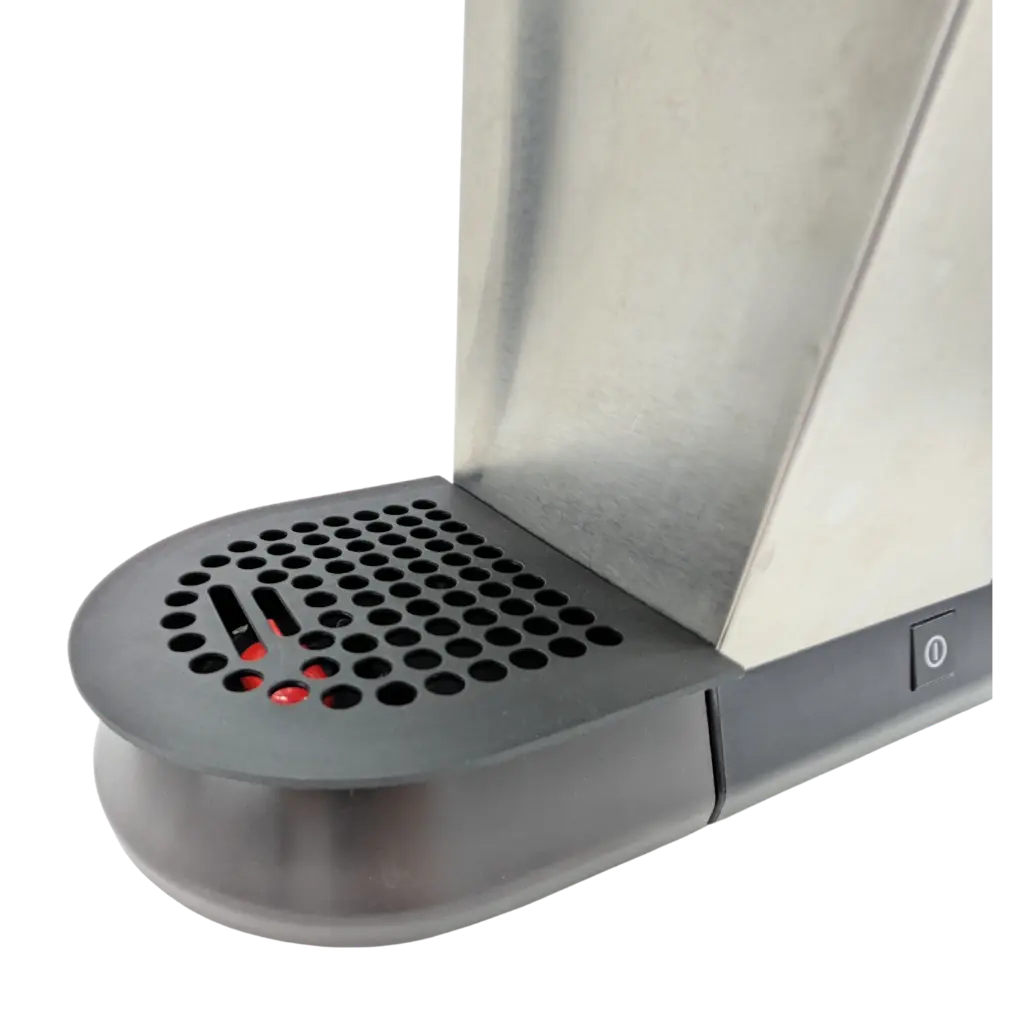
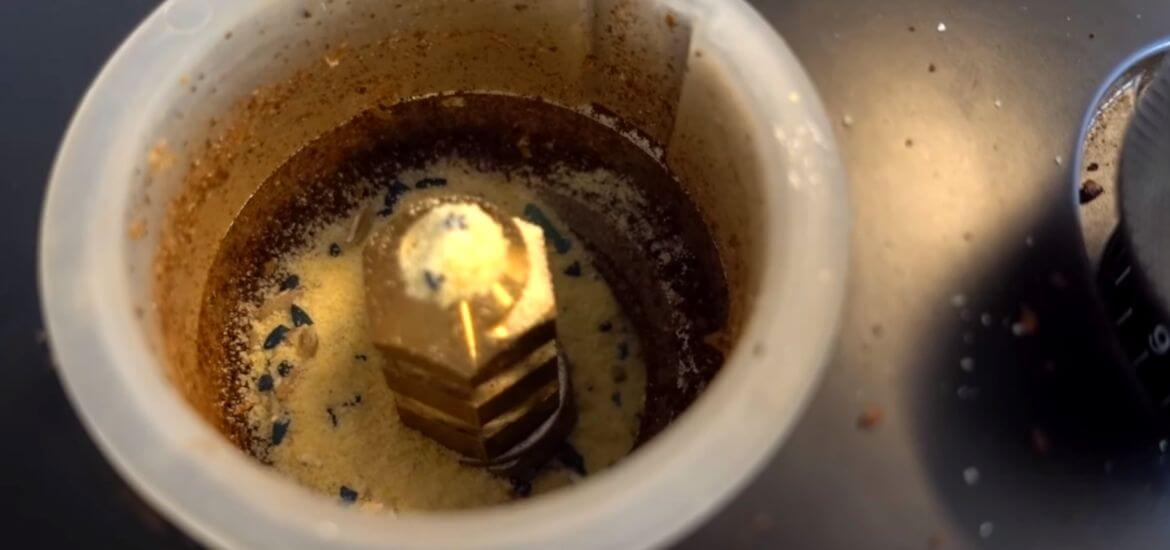
But it's not just the oils that are a problem. Many grinders have cavities where old coffee gets stuck. These spaces are known as retention or dead space. The term retention refers to the remaining coffee grounds. The coffee is already ground but does not exit the grinder. Typical spots are, for example, the area in front of the flapper, in the outlet chute, or around the burrs. The flapper is designed to remove clumps from the grounds, but it can also have a clogging effect.
We distinguish between permanent and temporary retention. Permanent retention is filled once with ground coffee and is then not exchanged with every grind. If you don't open and clean the grinder occasionally, this coffee becomes old inside the machine. In temporary retention, there is coffee powder that will be cleared from the grinder during the next grind cycle.

Clogged coffee behind the flapper of a Quamar M80e.
Why is retention a problem at all?
The coffee sits inside the grinder in a ground state. This exposes it to oxygen and causes it to oxidize faster—in other words, it ages more quickly, tasting different after just 30 minutes and significantly worse after an hour. Unground coffee beans act as a protective layer for the coffee. Grinding increases the surface area, which also accelerates aging. Every tiny particle is exposed to interaction with oxygen (and potentially light).
The coffee in the temporary retention is pushed out with every new grind. Whether this portion of coffee has a significant influence on the taste depends on the time since the last grind and the size of the retention area. In our major test of over 24 home espresso grinders, we specifically analyzed the retention for this reason.
As an example: 2 grams of retention in a double espresso prepared with 18 grams of coffee is of minor importance. However, if the retention is 9 grams, then half of the espresso is brewed with old coffee.
Permanent retention plays a different role. While the deposited powder is not dispensed with every shot and therefore doesn't have a direct influence on the extraction, you have coffee powder inside the grinder that is reacting with the environment and aging. This affects the hygiene of the grinder. Although coffee powder doesn't usually go moldy, it does create a rancid "atmosphere." The freshly ground coffee comes into contact with this and effectively rubs past the old coffee.
Does the coffee in the permanent retention have a sensory impact? Yes, and quite a significant one! You can try this test yourself. Grind 18 grams of coffee, then clean the grinder. Follow our video if you have a G-Iota/DF64 or Eureka Mignon. If you have a different grinder, follow the manual, search for a guide on YouTube, or write to us so we can make a video for you. After cleaning, grind 18 grams again. And now brew two double espressos. Then compare the results.
By the way: the size of the temporary retention often also affects the consistency of the espresso grinder or coffee grinder. With some grinds, more powder remains, and with subsequent ones, more is dispensed.
Cleaning
- Remove and empty the bean hopper.
- Grind out all remaining beans in the chute. You may need to reattach the bean hopper for this, as some grinders will not start without it.
- Add a level tablespoon of cleaning powder to the bean chute. Yes, many manufacturers recommend using much more. However, they also want to sell their cleaning powder. We believe one tablespoon is sufficient. In the case of our cleaning powder, that is 10 to 15 grams.
- Grind out the cleaning powder.
- Put the bean hopper back on.
- Grind one portion of coffee to ensure all traces of the cleaning powder are removed.
You can learn more about this in our coffee courses at www.kaffeemacher.ch/akademie
Frequently asked questions about cleaning coffee and espresso grinders
How often should a coffee grinder be cleaned?
We recommend cleaning with grinder cleaner every two weeks. If the grinder is used frequently in a shared apartment or office, the frequency should be increased. In a professional catering environment, we recommend adding cleaning to the maintenance schedule twice a week.
Is cleaning with grinder cleaner necessary if I disassemble and clean the grinder?
Manual cleaning by opening the grinder and removing the coffee powder in the retention area is more thorough than cleaning with grinder cleaner. It can therefore be done as an alternative.![]()


