


The grind size is the variable that influences your espresso the most — more than brew temperature, more than tamping pressure, more than the machine itself. Even so, “how fine should I grind?" is a question with no universal answer. We explain why that is, how to find your grind size, and what to do when it doesn't taste right. (You can find the basics of espresso preparation in our brewing guide.)
Why there is no magic number
“Set your grinder to 12" is a sentence you read all the time in forums. The problem is: setting 12 on your grinder results in a completely different particle size than setting 12 on another grinder of the same model. Even two identical grinders from the same factory can produce different grind sizes at the same setting. The burrs sit slightly differently, the calibration varies, and usage has worn the burrs down differently.
Therefore, the grind size is not a numerical value that you can simply transfer. It is a setting that you must find yourself for your grinder, your coffee, and your machine. The good news: it's less complicated than it sounds.
The method: Using time to find the right grind size
You need three things: a scale, a stopwatch (or a scale with a timer), and a recipe as a starting point. Let's take the standard recipe: 18 g of coffee, 36 g of espresso in the cup, time window 25–30 seconds.
Dose 18 g of coffee, tamp, pull the shot, and observe two things: how many grams end up in the cup and how long it takes. The extraction time tells you if the grind size is correct.
If the espresso runs through too quickly (e.g., 36 g in 18 seconds), the grind size is too coarse. The water finds too little resistance and rushes through the puck. The espresso then typically tastes sour, thin, and watery.
If it runs too slowly (e.g., 36 g takes 40 seconds), the grind size is too fine. The water barely gets through, and the coffee becomes over-extracted. The espresso tastes bitter and astringent.
If you land within the time window (25–30 seconds for 36 g), you are in the right range. From here on, your taste decides.

Adjusting the grind size: How much to turn?
The rule here is: less than you think. For most espresso grinders, small turns make a clearly noticeable difference. With some grinders that have fine graduations (e.g., the Eureka Mignon or Niche Zero), it is often just one or two notches or ticks.
The rule of thumb: adjust the grind size in small steps and pull a shot after each change. Do not jump from "way too coarse" straight to "extremely fine" — you will almost always overshoot the mark, and especially when adjusting significantly finer, the grinder can even clog up. A good rhythm: make a small adjustment, pull a shot, taste, correct. After three to four shots, you will generally be in the right range.
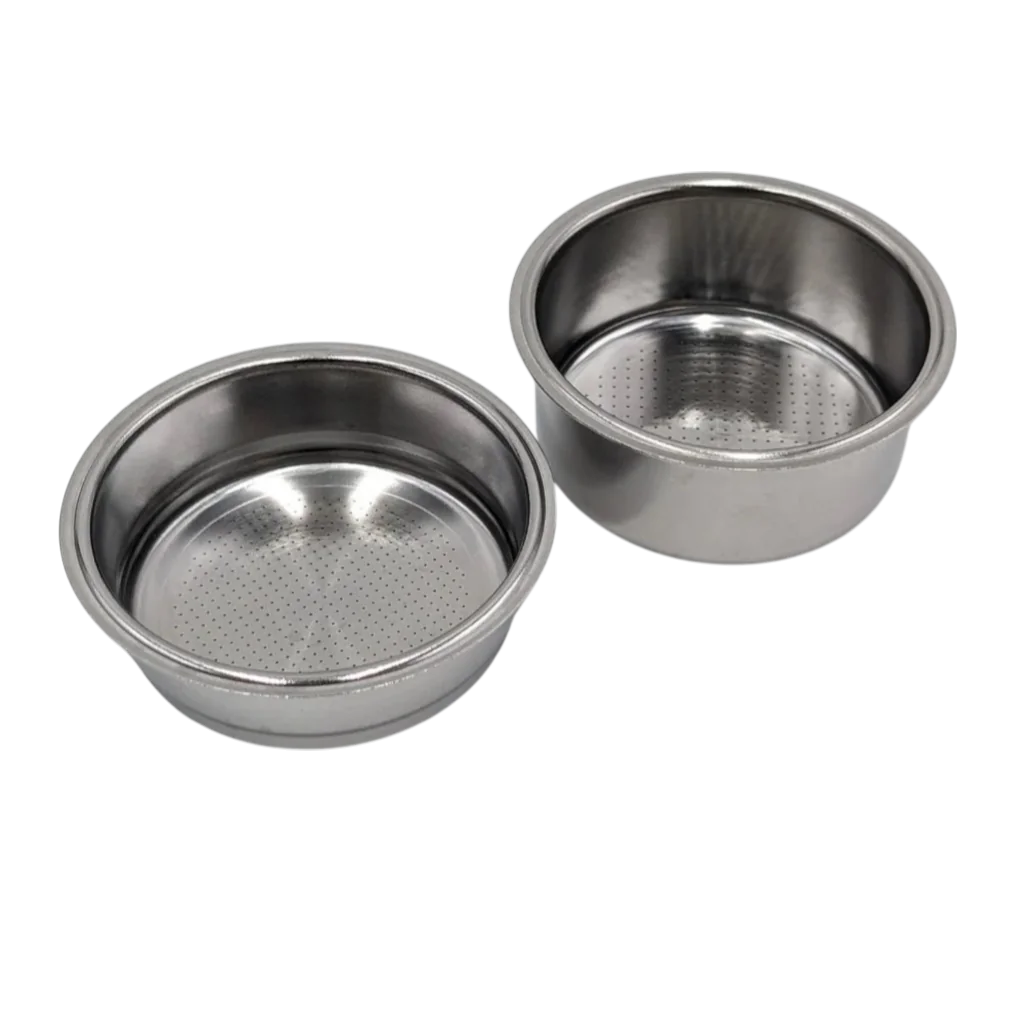
Important: After adjusting, discard the first small amount of coffee grounds (2–6 g is usually enough). There is still old coffee from the previous grind size sitting in the grinder. If that gets into your portafilter, it will distort the result. This leftover coffee is what we call retention, and its amount varies from grinder to grinder.
When you need to readjust the grind size
The grind size is not a "set and forget" setting. Several factors change how coffee behaves at the same grind size:
New coffee: Every coffee has a different density, cellular structure, and roast. When you open a new bag — even of the same coffee — the grind size might be slightly off. With a completely different coffee (e.g., from light to dark roast), you often have to adjust by several steps.
Age of the coffee: Freshly roasted coffee releases CO₂. In the first few days after roasting, it resists water more strongly, and the extraction runs slower. At the same time, it bubbles and doesn't taste good yet. We recommend starting to brew a coffee about two weeks after roasting. The longer the coffee is open, the more you have to adjust the grind finer over time.
Humidity: In high humidity, coffee grounds swell slightly and create more resistance. On humid summer days, the espresso might suddenly run slower even though you haven't changed anything. One step coarser usually solves this.
When the espresso tastes sour — despite a fine grind size
A common problem: the espresso tastes sour, so you grind finer. And finer. And eventually, the shot takes 40 seconds and still tastes sour. What's going on?
Usually, it is channeling. If the grind size is very fine but the coffee puck wasn't distributed evenly, the pressure builds up unevenly. The water finds a channel through the puck and over-extracts everything there (bitter), while the rest of the puck gets hardly any water (sour). The result is an espresso that tastes sour and bitter at the same time, no matter how fine you grind.
The solution then lies not in the grind size, but in puck preparation. Distribute the coffee in the portafilter evenly (WDT with a needle works well), then tamp evenly. More on this in our brewing guide. A pre-infusion can also help with channeling because it saturates the puck more evenly before full pressure hits.
If none of that helps and the espresso still tastes sour at the right time and ratio, the brew temperature might play a role. A temperature that is too low extracts fewer acid-binding substances. Two to three degrees more can make all the difference. But try the grind size and puck preparation first — that solves 90% of the problems.

Espresso grind size vs. filter coffee grind size
Espresso requires the finest grind of all brewing methods. For comparison: filter coffee is ground like fine sand, French press like coarse sea salt. Espresso is somewhere between powdered sugar and fine sand — significantly finer than anything else.
There is a simple reason for this: the contact time for espresso is only 25–30 seconds. For the water to dissolve enough flavor from the coffee in this short time, the surface area of the coffee particles must be as large as possible. Finer grind = more surface area = more extraction per second.
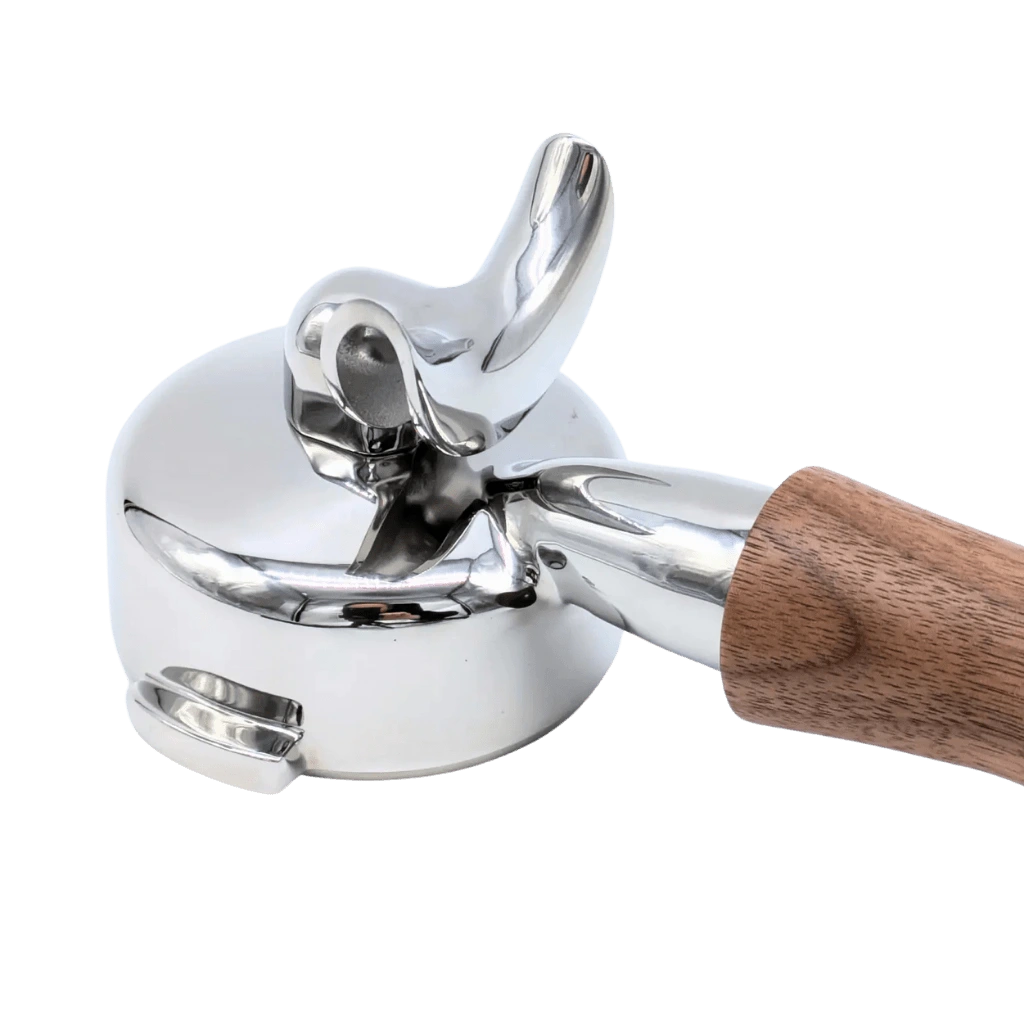
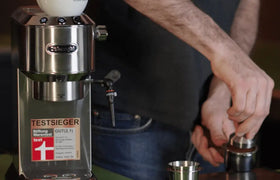
That is why you need a grinder for espresso that can grind fine enough while delivering a uniform particle size. Not every coffee grinder can do that. A usable espresso grinder costs roughly 200 euros and up. Cheaper grinders may grind fine, but unevenly — with many coarse and many overly fine particles simultaneously. This leads to under- and over-extraction in the same shot. Our major espresso grinder test shows which grinders can do it. You can find a curated selection of recommended grinders in the espresso grinder selection. Hand grinders are often the best choice in the budget segment under 100 euros.
Adjusting the grind size: Getting the result in five shots
If you have a new grinder or want to start a new bag of coffee, you will reach your goal quickly with this method. Define the recipe or use our recipe. We provide a recipe for every espresso in our shop.
Shot 1: Start with a setting that seems roughly correct to you. Dose 18 g, pull until 36 g, and stop the time. If the shot takes under 20 seconds: adjust significantly finer. Over 35 seconds: significantly coarser.
Shot 2–3: Correct in the right direction, in small steps each time. You should now be landing in the 22–32 second range.
Shot 4–5: Fine-tuning. Small corrections, taste, evaluate. If the espresso is within the time window and tastes good to you: you're done. If it is within the time window but doesn't taste good: read on at espresso too sour or adjust the brew ratio (slightly more or less water).
Yes, this will cost you five shots of coffee. Consider it an investment — after that, you'll know where your grinder stands and will only have to make minimal adjustments.
More on the topic of brew time and why it is your most important diagnostic tool: Espresso extraction time: When does the brew time actually start?
Does your espresso taste sour? Then take a look at our detailed troubleshooting article: Espresso too sour — what to do?


