





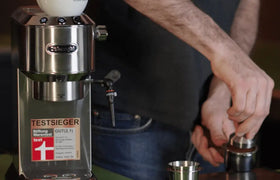


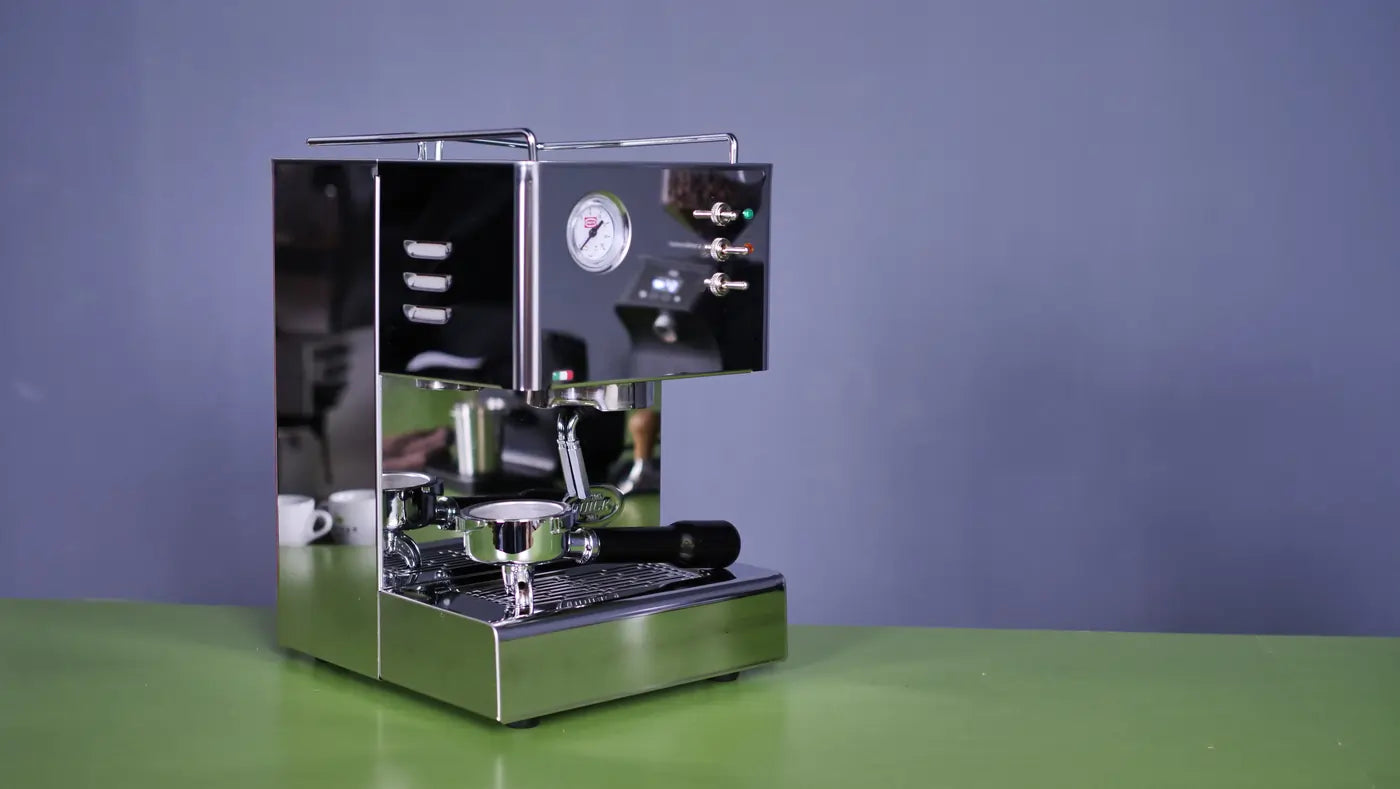

The Quick Mill Orione 3000 was on our test table about two years ago. Back then, the espresso machine put in a solid performance as an entry-level espresso machine thanks to a few tricks. However, an important question with more affordable espresso machines is always: how do they perform when they have to stand up to daily use over several years?
That's why we like to lend interesting espresso machines to flat-shares. The same goes for the Quick Mill Orione 3000. Now it's back. In this article, we'll briefly summarize the original results and then let the flat-share have their say.
First of all: our conclusion hasn't changed. The Quick Mill Orione 3000 is consistent and brews good espresso with a little temperature surfing.
Pros and cons of the QuickMill Orione 3000
Pros:
- Solid workmanship, lots of stainless steel, and still as beautiful as the first day, even after two years of use, with a bit of patina.
- Fast heating and therefore ready for operation quickly.
- Compact and heavy.
- Consistent in its inconsistency (temperature). However, this makes it possible to estimate and control the temperature.
Cons:
- Outdated steam wand
- Poor temperature behavior under normal use
- Small drip tray with a poor cover
Important tips for the QuickMill Orione 3000:
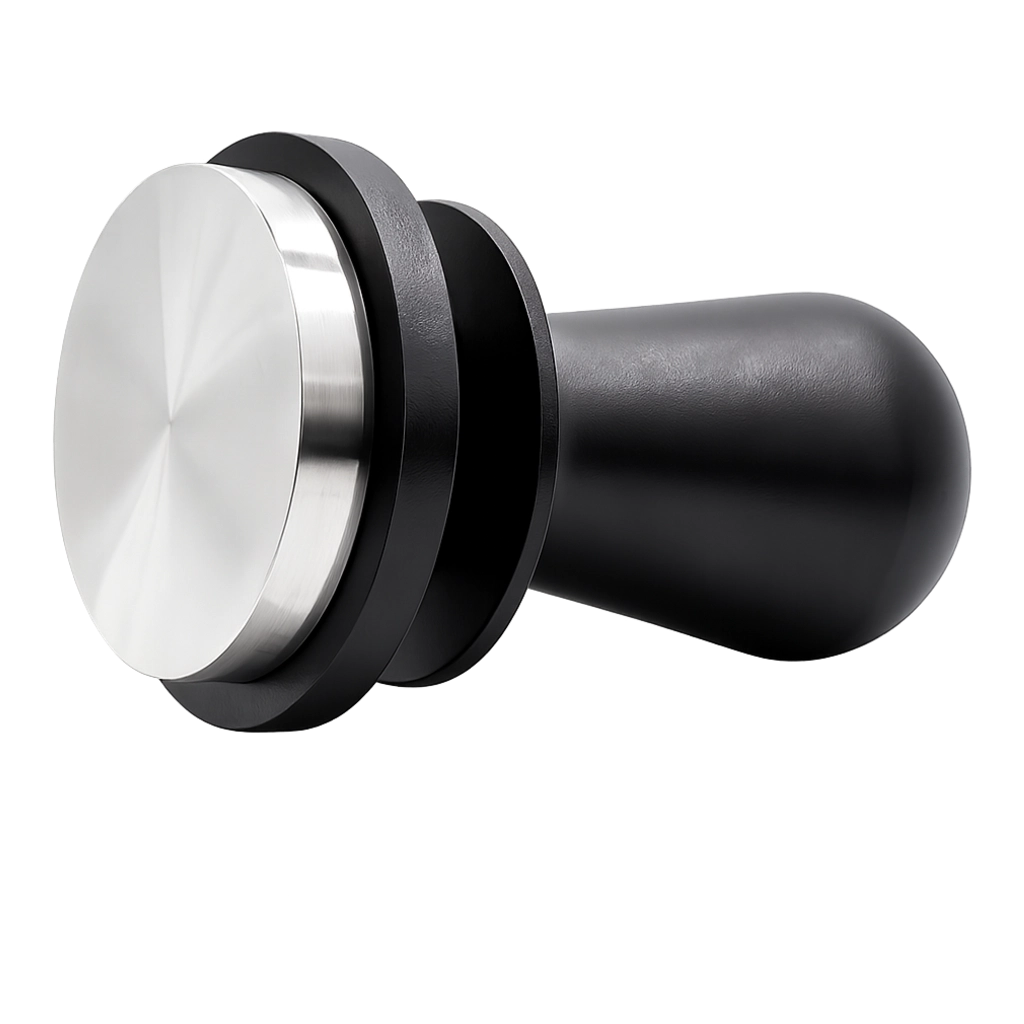
- Get a replacement for the plastic tamper
- Better portafilter baskets lead to more even extraction. Either use VST baskets or flatten the rim of IMS baskets, or follow this tip written by a user on YouTube: replace the 4 screws on the stainless steel brew head with countersunk or pan-head screws so that all E61 baskets will fit. (They just don't always seal perfectly because they seal on the inside, not the top.)
- Flush with water for 6–8 seconds to reach the ideal brewing temperature
- Follow milk frothing tips
- Use a good entry-level espresso grinder, such as the Sage Smart Grind Pro or Eureka Mignon Perfetto

After we received the QuickMill Orione back, the temperature curves were initially not as they had been two years ago. While the machine had been well maintained and descaled, the last descaling was some time ago.
That's why we descaled it and measured it again. Afterwards, we were able to reproduce the same temperature curves as two years ago. Accordingly, our tips, as we give them in the following video, remain valid.
Our conclusion on the Quick Mill Orione 3000
The Quick Mill Orione 3000 is a good choice for starting out in the world of espresso machines, provided you are willing to engage with it and follow our tips. Without adjustments, the machine will bring less joy, but with a little curiosity, you can get a lot for very little money. And then the machine still does a good job even after a few years, as our test after two years in a flat-share proves.

Report from the time in the espresso machine flat-share
The QuickMill Orione 3000 has been in my wife's (Fabienne) and my (Benjamin) home for a good year now and has served us as a coffee machine for espresso, cappuccino, and other coffee drinks ever since. During this time, we were able to extensively put the machine through its paces – or rather, its thermoblock and steam wand. Previously, we had a second-hand Bezzera BZ07 dual-boiler espresso machine, which unfortunately gave up the ghost (or the thermostat) shortly before the Kaffeemacher call for testers.
The advantages of a thermoblock machine are obvious: it heats up quickly, is cheap to purchase, and its often compact design means it fits on any kitchen counter. We were actually looking for all these features in a new espresso machine. So, there was great joy in being able to test the Orione for a year.
As already hinted at in the Kaffeemacher video, not everything that glitters is gold, and so the Orione has a few weaknesses. So much in advance – these did not remain undiscovered by us either – and yet we found one or two tricks.
Temperature stability and taste of espressos
In addition to cappuccinos, I also really enjoy drinking espressos, and besides classic dark roasts, these can also be light and acidity-driven coffee roasts. The Kaffeemacher test specifically criticizes the temperature stability and temperature curve. It clearly shows that with a short flush, the temperature is far too high, and only with a long 8-second flush is a temperature of 93 degrees reached, which, however, does not remain truly stable during the extraction.

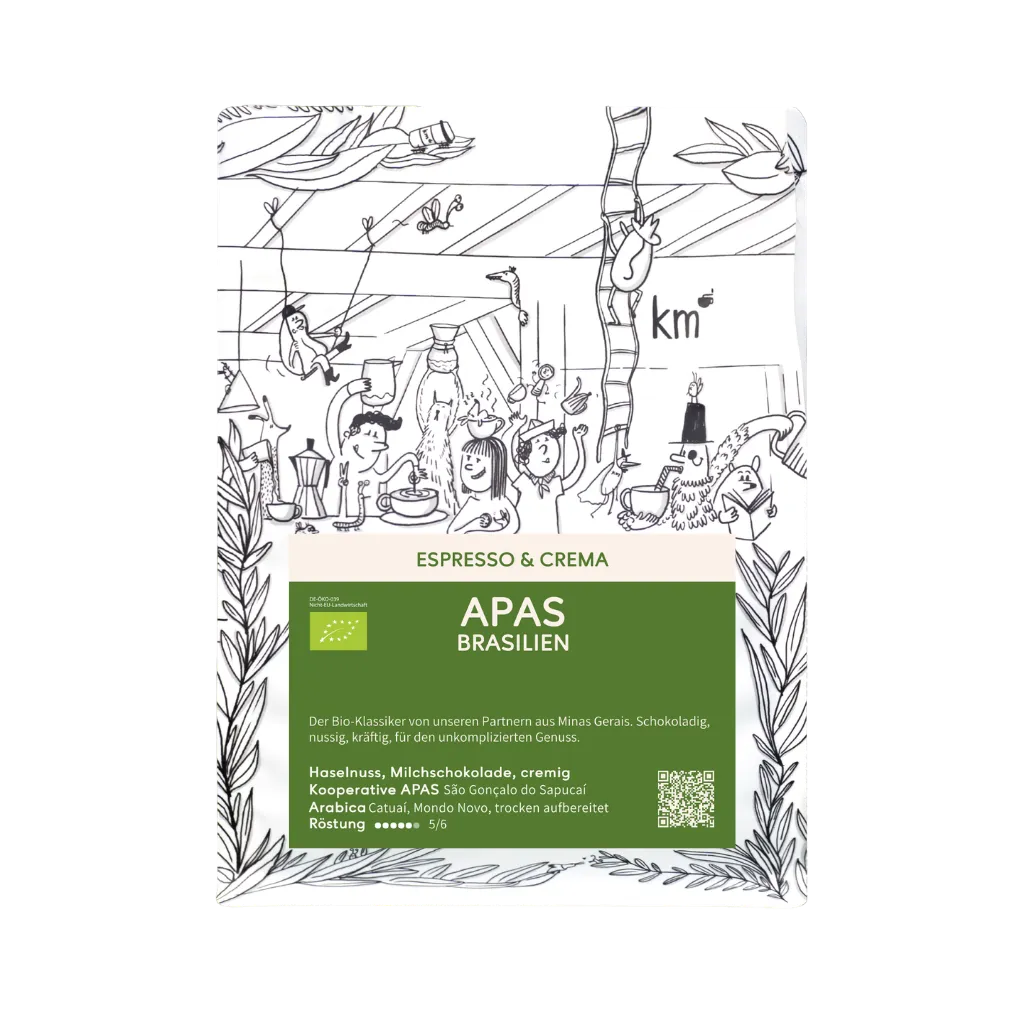
Armed with this prior knowledge, I approached the machine and was indeed able to notice a difference between a long, short, or no flush at all. Our house roast is the Nussknacker, a Brazilian Direct Trade coffee from Bösiger's Kafignuss and comes from the APAS cooperative. At the beginning, the result with an 8-second flush tasted good to me, and I didn't really question it. But since I knew that the temperature curve could be very different, I started to experiment and had to realize after some time that these 8 seconds are a very difficult rule of thumb. Sometimes the espresso was great with 8 seconds, then it was even better with 6 seconds or even 4 seconds, and every now and then it didn't really taste good at any of these times. The Kaffeemacher's statement: "Consistent in its inconsistency" fits very well here.
For a while, Don Roberto coffee was in use, a heavy, lush, and fruity espresso from El Salvador, roasted by the Kaffeemacher. To my luck, I was able to taste this espresso in one of the Kaffeemacher cafes and thus knew how it should taste roughly.
The kryptonite – milk frothing
Mostly, we drink cappuccinos at home, be it in the morning after getting up or when we have visitors. But this is exactly where the Orione shows one of its biggest weaknesses. Since it only has one thermoblock, it takes a few seconds for it to heat up for steam. If the next espresso is to be pulled afterwards, the thermoblock must first be cooled down again with a longer flush, otherwise, the temperature is far too high.
If at least the power during frothing were good, the heating up and cooling down could be forgiven. But it is precisely in terms of power that very little good can be reported about the machine. Frothing the amount of milk for one cappuccino takes over a minute if the milk comes fresh from the fridge. Sometimes the power also breaks down completely, which the Kaffeemacher also had to endure several times in their test, and the machine has to heat up again. If you happen to get the idea to froth milk for two cappuccinos at once, this breakdown of power actually happens every time. So, I can really only advise against that…
Nonetheless, the slow heating of the milk allows for very good practice of the frothing process, and you can separate the stretching and rolling phases very well. With a little patience, beautiful cappuccinos can also be made with the Orione, including latte art!
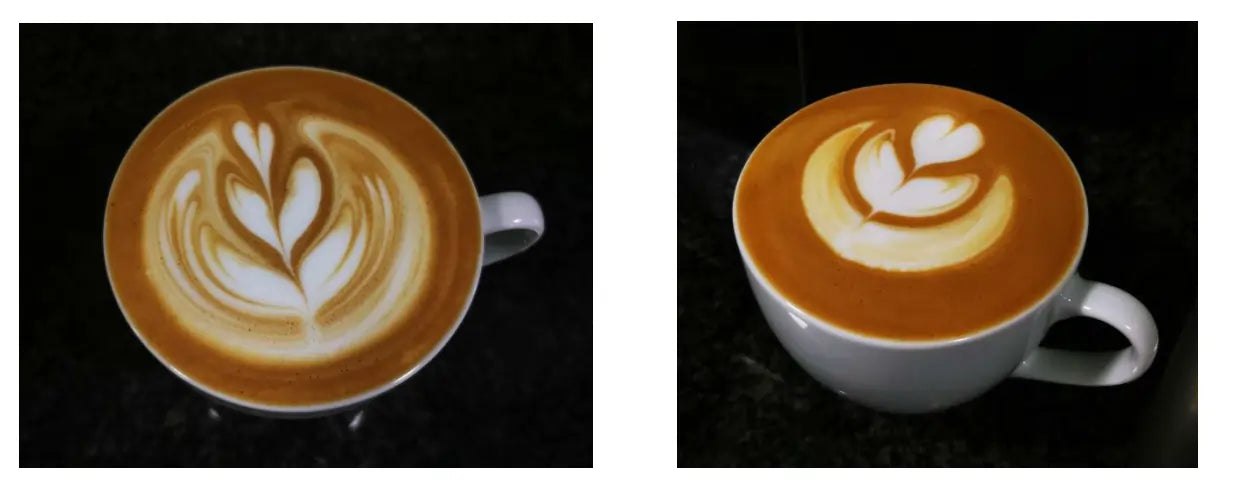
Over time, the machine's steam power seemed to decrease more and more, and during frothing, there was also a significant amount of steam coming out of the brew group. After a little Googling, the problem seemed to have been found: the machine seems to have built up too much limescale despite using filtered water. With the help of the following YouTube video, I subsequently descaled the machine, paying special attention to the three-way valve, which is located between the steam wand and the brew group. If limescale builds up there, it steams out of the brew group during frothing, and over time, that also damages the valve. Since descaling, the machine has more steam power than ever and, in my opinion, performs even better than it did shortly after picking it up. The problems with stagnant steam power during frothing have also been reduced to a minimum if you follow the tricks below.
Tips and tricks
Even before I received the machine, I really wanted to find a way to get a handle on the problem of stagnant steam power mentioned by the Kaffeemacher. I spent a lot of time on this and played around with the machine until I finally arrived at the following solution:
The solution for strong steam without stagnation
No stress, the machine just needs a little time. After an espresso has been brewed, the machine heats up again, visible by the red light. If you start unfolding the steam wand and purging while it is heating up, the thermoblock will absolutely not want to cooperate and will punish you during frothing with a massive drop in steam. But if you give the machine time until it has heated up (red light off), then wait another 5–10 seconds and only then purge the steam wand, I rarely, if ever, had problems with stagnant steam. It is important, however, that at most the amount of milk for one cappuccino may be frothed; otherwise, this trick unfortunately does not work. Frothing two cappuccinos at once is therefore unfortunately not possible, even with this trick.
If there is still a steam drop during frothing, the biggest problem is actually that the foam settles on top of the milk and there is no longer a good mix because the milk is no longer spinning nicely in the pitcher. You can counteract this by submerging the milk pitcher deeper during frothing and then manually keeping the milk in motion. That is not particularly practical and not really the goal of the whole thing, but I still had acceptable milk foam for latte art with this technique.
Last but not least, do your machine a favor and just descale it! It's not rocket science, but if you're unsure, you can also take it to a specialist shop.
Using other portafilter baskets
From my previous machine, I had a VST precision basket in use, which I was very satisfied with and which I actually wanted to use again. In terms of diameter, the Orione needs the classic 58mm baskets, so this shouldn't actually be a problem.
But wait. Classic 58mm baskets have a curved rim (on the left in the picture).
After the Orione sprayed my counter with water and coffee, I realized that the Orione requires a basket with a flat rim because otherwise the gasket, together with the basket, cannot hold the pressure. Well, the internet has a solution for almost every problem, and it was no different here. In the Kaffee-Netz forum, I found owners with the same problem relatively quickly. One user then reported that he simply bent the rim of a normal 58mm basket with the help of flat-nose pliers and a hammer. The plan was clear; that had to be tried! After a bit of bending and hammering, the rim was flat, and I was able to use my freshly bought and modified basket (on the right in the picture) in the Orione with almost no problems!

At the beginning, a little water still squirted out, but it only flowed slowly down the piston and handle. After I made the rim of the basket a bit more evenly flat, this problem was also solved.
General conclusion
The QuickMill Orione 3000 gave me a lot of fun during the testing and produced many delicious coffees! There were some problems that had to be overcome, but in the end, there was a solution for (almost) everything. One problem, however, which can only be solved with great expertise or by QuickMill itself, is the lack of an overpressure valve. Unfortunately, the QuickMill does not have such a valve, which is why the pressure during the brew is very high at the beginning and then slowly flattens out. Presumably, this also leads to the different results described for espressos. Because even if the grinder is set correctly and the coffee grounds have been tamped down with the same pressure, the result will always be a little different due to the varying pressure.
For me, a portafilter machine means a constant pursuit of the perfect espresso cappuccino. But unfortunately, I was never really able to achieve this with the QuickMill. Without question, the espressos and cappuccinos I drank were sometimes very good, but after a year, it feels like I have maxed out the machine and that there is no longer any possibility to improve my results.
Personally, I would only recommend this machine to a limited extent and would not buy or continue to use it myself. It brought me joy, and yet it is now time for a new challenge. I am very interested in the topic of flow-profiling and playing with different temperatures. But the Orione can't offer me either of those. I also find the machine problematic for beginners overall, as in my experience only limited reproducibility is possible, and it takes a lot of experimenting to produce a good espresso/cappuccino. However, if money is a very limiting factor, the machine can certainly be taken into consideration and, in my opinion, is certainly a valid option as a second-hand machine.
In closing, I would like to sincerely thank the Kaffeemacher for this opportunity, I look forward to many future test videos, and I wish them continued success!